How to recover your files on Windows KVM VPS
This is a tutorial on how to recover your files on Windows KVM VPS.
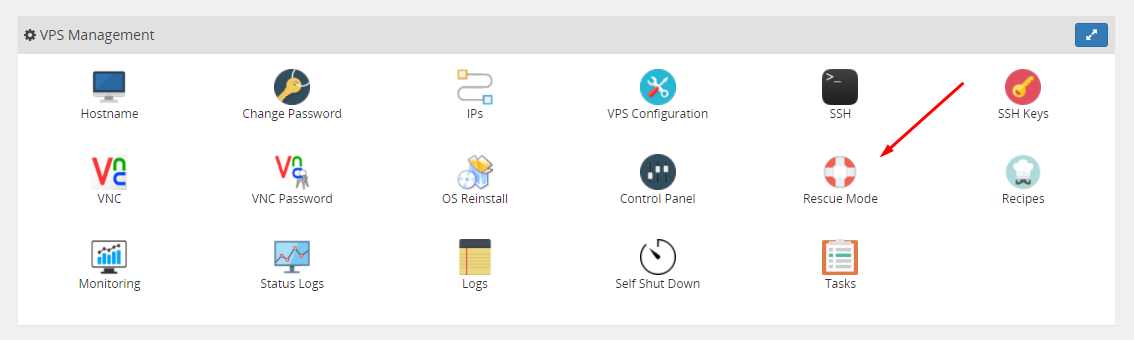
- First thing that you need to do is enable Rescue Mode from panel in your Client Area.
- Next it will ask you for a password for the rescue mode, you can enter any password you want which you will need later on to log in to your VPS.

- After some time, your VPS will be put in rescue mode and it display an information sign at the top of your Client Panel.

- Now you should be able to SSH to your server or at least use the VNC console to get to the command prompt where you can login with username “root” and the password you entered before enabling the Rescue Mode. (Here is a tutorial on how to connect with Putty)
- After you have sucessfully logged in to your VPS Rescue Mode you need to check what is the name of your main partition by running the command :
$ fdisk -l - The command will display your partition table as shown in the example below :
Device Boot Start End Blocks Id System/dev/sdb1 * 478001152 622532607 72265728 7 HPFS/NTFS/exFAT
Here we can see that SDA3 is our NTFS Windows partition. - The next step is to mount that partition by running the mount command :
This will mount the Windows Partition in the /mnt folder.$ mount /dev/sdb1 /mnt - Now you can SFTP to your VPS and navigate to /mnt folder ( or any other folder you have mounted your partition ) to create backup of any files you might have. (here is a tutorial on how to connect to you VPS using FTP) Using these parameters :
- host : <your VPS ip>
- Username : root
- Password : <the password you set previously>
- Port : 22 (or default)
